Creating A Kaltura Capture Video
The Kaltura Capture tool allows you to use your computers audio and video functions to complete class discussion boards and assignments. Kaltura Capture must be installed on a local computer. See the Installing Kaltura Capture help page for assistance.
Videos can be recorded without installing Kaltura Capture by using the Kaltura Webcam.
The following video tutorial and walkthrough shows how to record a video using Kaltura Capture. If you have any issues, please reach out to the help desk.
Creating a Kaltura Capture Video -- Walkthrough
- Click on the "My Media" found on the global menu in Canvas.

-
On your My Media page, click the Add New button in the upper right.
-
Select Kaltura Capture from the menu.

-
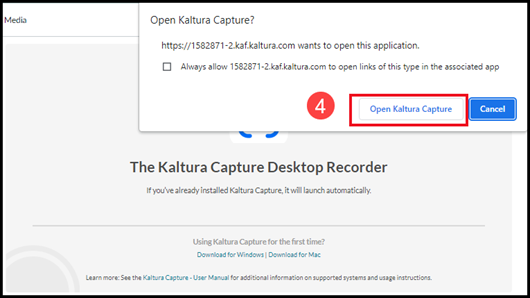
A pop-up window will open. You might have to select "allow pop-ups" in your browser.
-
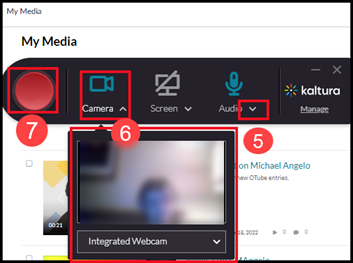
Check your audio settings. Click on the dropdown arrow next to the microphone. If the Audio button is grayed out, your microphone is disabled or not available. Make sure you select the correct audio device, especially if you are using an external headset. Then, speak to see if there is movement inside the microphone icon as you speak.
-
Check your video settings. Click on the camera icon to enable. Once enabled, you will see your own image and background. You are able to record just audio by leaving the camera icon disabled.
-
When ready to record, click the red button. Start speaking after the 3, 2, 1 countdown.
-
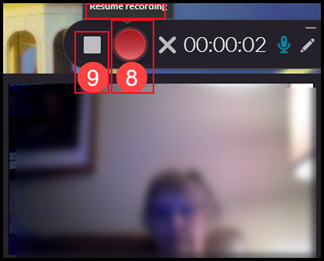
You may pause your recording; click the red record button again to resume.
-
Click the square to stop recording.
-
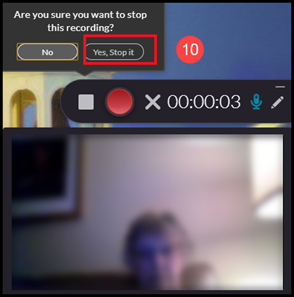
A window pops up to confirm that you want to stop the recording. Click, "Yes, Stop It."
-
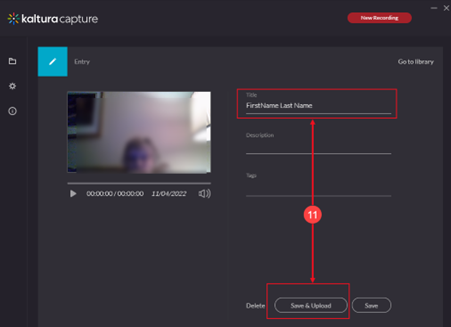
After you stop recording, you will see a window of your Webcam recording located on your local computer. Type in the name of the recording. Consider including your name and the assignment name in the video title. Click Save & Upload.
-
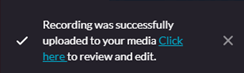
The Save & Upload process will show various stages of completion before showing a final message that the recording has been successfully uploaded to your media.
-
After uploading, you will see a window that shows the Kaltura videos on your local computer. After recording a video, Kaltura Capture stores a local copy of all your recordings on your device. You may click on th folder to see all previous recordings in your Kaltura Capture library. You can remove or upload any of these videos to your My Media area in Canvas.

-
After uploading to the Kaltura servers, you may return to Canvas to your "My Media" area to view, edit, and submit your video. For more information on submitting a video for a Canvas assignment, visit the Submitting Kaltura Content help page.